It doesn't matter how clean your car is outside; you won’t appreciate it if the inside is smelly and messy.
Considering how much time we spend in our cars, it’s hardly surprising they suffer from smells, smears, spillages and frequently much worse (anyone with children can surely testify).
These spills and stains form bacteria, which start to smell, and before you know it your car’s more like a dustbin than the second-most-valuable thing you own.
Follow these simple tips to prevent germs from building up and restore a car’s interior to its showroom glory.
Clear out the clutter
The first thing to do is to get rid of that festering sandwich crust from inside the door pocket, the rotting banana skin from under the front seat and any other rubbish that you (or your family) have abandoned.
Then remove the stale gym kit that’s been in the boot since last January when your New Year’s resolution was still holding strong. This will also save you money in the long run: car makers spend millions shaving weight from their cars because a lighter car is more economical.
Get your mats out
It’s a hard, thankless life being a car mat, but they’re designed to be trampled all over so a bit of soap and water shouldn’t hurt. Check your car’s handbook just in case, but the majority can be washed. Spray on an interior cleaner, wash it off with a hose pipe, then hang them out and if the weather’s on your side they could well be dry by the time you’ve finished doing the rest of the car.
Cleaning the car’s ventilation system
Close off all the air vents. Turn the ignition on, turn the heater blower up to full speed and open the vents, one at a time. This will blast the dust out of the system. Once done, give it 10 minutes for everything to settle and then start vacuuming up the dirt that’s been dislodged.
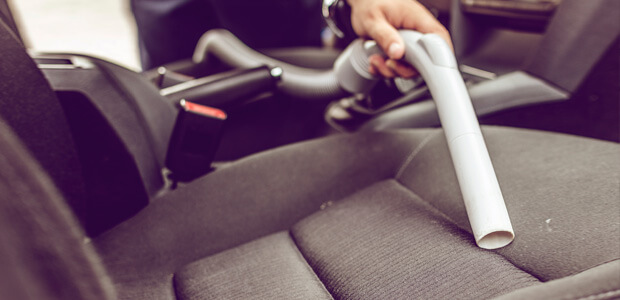
Use the brush attachment for the seats and carpets and remember to slide the front seats backwards and forwards so you can get right underneath them.

Treat it like an antique
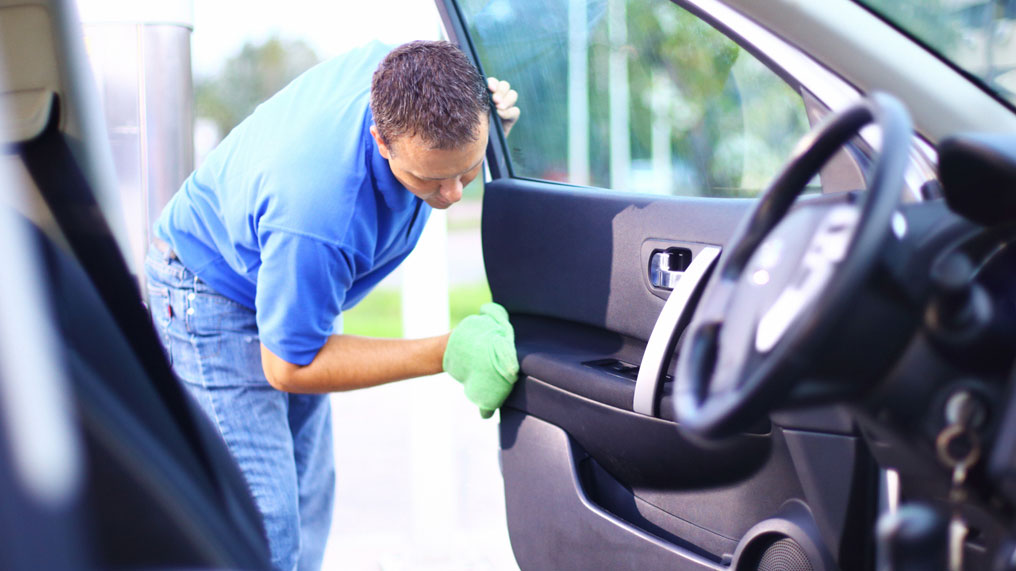
Now you can start dusting. Use a soft cloth as if you were dusting valuable antique furniture in the house. This has the double benefit of not scratching glossy materials yet also trapping dust.
Rather than using household polish, which isn’t designed for the plastic and leather used in modern cars, use a bespoke cleaning product. There are a lot of interior trim cleaners out there.
Tip: If you’re using a cleaning product, spray it onto the cloth rather than directly onto the dashboard. This will stop overspray on the windscreen. And don’t use any product on the steering wheel or pedals: it will make them slippery.
Switch on to being careful
Although they might look and feel robust, the switches in a car can conceal quite delicate electrics so don’t get any moisture in them. Equally, the clear plastic covering the instrument dials can be very prone to scratching so be very careful.
Tip: Use either the softest paintbrush you can buy or a new make-up brush to clean fiddly areas such as around the air vents.
Neat seats
Now it’s time to clean the seats. If they’re leather, use a bespoke leather cleaner.
If the seats are fabric, use a bespoke fabric cleaner.
Most importantly, test the cleaner on an out-of-sight area: the idea is to spruce up the seats, not fade them.
Assuming the test is fine, clean the seats by working the cleaner in with a damp cloth.
Tip: The seats will be slightly damp, so try to leave the windows open until everything is dry.
I can see clearly now…
To finish off, use a custom car glass cleaning product for windows. These are designed to both clean the build-up of grease inside and repel water outside which they do by causing droplets to bead and blow away.
Tip: Work left to right on one side of the window; top to bottom on the other. Then, if a smear is left behind, you’ll be able to tell which side it’s on.


